Installation guide
Here is a guide to install PicsEngine 3 on your server.
First, check if your server is compatible with the provided script.
The first thing to do is to download the zip file of PicsEngine. When you got it, extract all the files.
Then, upload all files on your server (in most case, you have to use a FTP client). Your hoster provides you all the required informations about that.
Imagine you upload the files that appear here http://mywebsite.com/picsengine/.
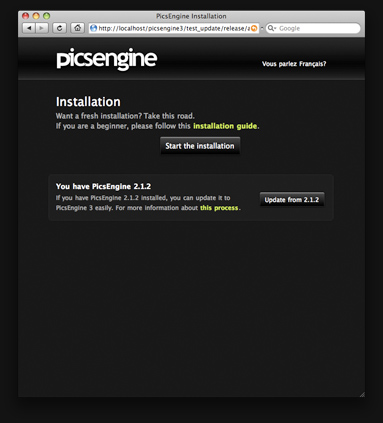
Open this page on your favorite web browser to begin the installation.
You can see a button named "Start the installation", click on it.
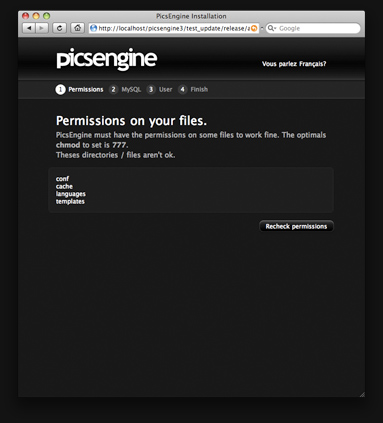
Now you can have this page. It's not sure because, perhaps, all is ok for you the first time.
This page appear if PicsEngine doesn't have write access to some directories. Set the chmod of the directories listed to 777 with your FTP client.
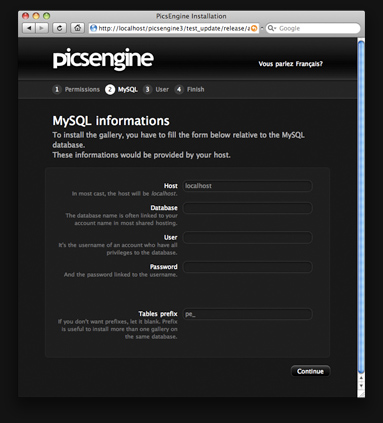
The next step is the MySQL informations. In fact, PicsEngine use MySQL database to stock informations about albums, photos, settings and others.
Fill the form with your informations receive from your hoster. Then, click on continue.
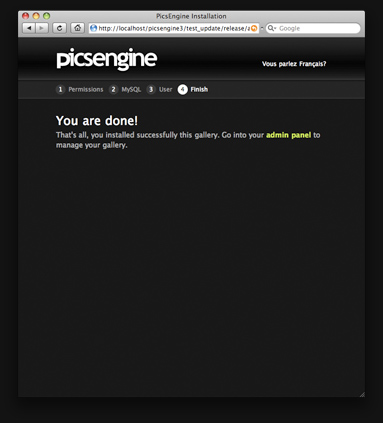
It's the last step. Enter the username and the password you want to be able to login into the administration panel. Users can be added after.
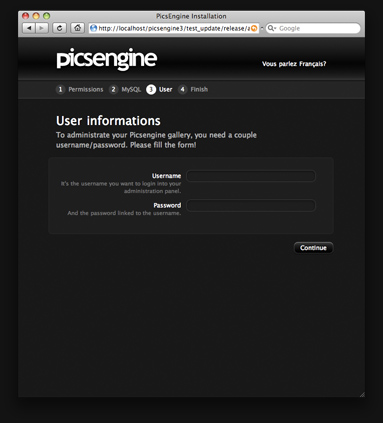
Click on Continue.
